

Photographing animals in their natural habitats—whether on land or undersea—is one of the most thrilling experiences when exploring the world’s wild places. Along with passion, patience and practice are required to make compelling images. It’s all about being in the moment, anticipating action, and enjoying the experience. Get Inspired By Photos, Videos, Webinars, Stories, And Exclusive Offers. Sign Up
Hopefully these few simple tips and examples from around the world will help increase your odds of getting the shot.
1. Southeast Alaska: Fast Shutter to Stop the Action
All photos: Ralph Lee Hopkins
When photographing fast-moving wildlife, like a breaching humpback whale or a bald eagle soaring overhead, speed matters. Shutter speed that is: a fast shutter speed will freeze the action, helping you capture a sharp, dynamic image.
There are several ways to take control of shutter speed. Most common is by switching to Shutter Priority mode and increasing the ISO. The camera will then set the f/stop. The trick is to have a high-enough ISO to work with the selected shutter speed, which for whales should be at least 1/1000 second.
My preferred method and the one I recommend is to set the camera on Manual mode (not as scary as it sounds) and set the ISO to Automatic. Now you can set the shutter speed according to the specific situation, open to the wide aperture to let in more light, say f/4 or f/5.6, and let the camera adjust to the needed ISO.
If this is too technical, simply set your camera on the action setting, called “Running Man,” and your camera will do the work for you. Another option is to use your iPhone and capture the moment on video.
2. Antarctica: Wait on Separation
While Antarctica is a photographer’s dream, the White Continent can also be overwhelming. The scale of the scenery is challenging to convey in a single image, and the great multitudes of penguins boggle the mind. Groups of penguins often appear chaotic through the lens, as well as overlapping and random in the frame
To avoid a cluttered image, I look for situations where I can simplify. Instead of going wide and trying to get it all in one frame, I narrow my field of view, looking for patterns.
Photographing penguins is a waiting game. It’s important to choose situations that work and then let the scene develop. For example, rather than shooting dirty penguins heading out to sea, I concentrate on the clean penguins returning to shore. Not only are their feathers more pleasing to the eye, but the penguins also tend to arrive in waves, often walking in a line following a preferred route.
Light, composition, and moment is the photographer’s mantra. I look for groups of three or more penguins and wait for spacing to develop between their flippers. We call it separation in the business. Waiting on separation and then capturing the moment makes for fun images of our flightless friends.
3. Baja California: Focus on the Eye
In wildlife photography a sharp focus on the eye is critical. Focusing on the eyes of your animal subject is the most effective way to create an impactful image that conveys connection, curiosity, and evokes powerful emotion in the viewer. The body of the animal can be soft and out of focus, but if the eye is open, and sharp, the image works.
One of the strongest emotions I’ve ever experienced is when I looked into the eye of a whale calf in the nursing lagoons of Baja California. Encouraged by its mother not far away, this baby gray whale was curious, swimming up to our boat and seemingly wanting to interact with us. I found myself wondering what this calf, only a few weeks old, was thinking and feeling. The photo I took conveys the emotional element of the interaction I had with the whale and it brings me right back to this remarkable moment, looking into the eyes of this curious calf.
That said, there are situations when I prefer the animal is not looking at the camera. Environmental portraits come to mind, when the composition includes the surroundings to provide a sense of place, showing habitat, the animal’s world.
View Baja California Expeditions >
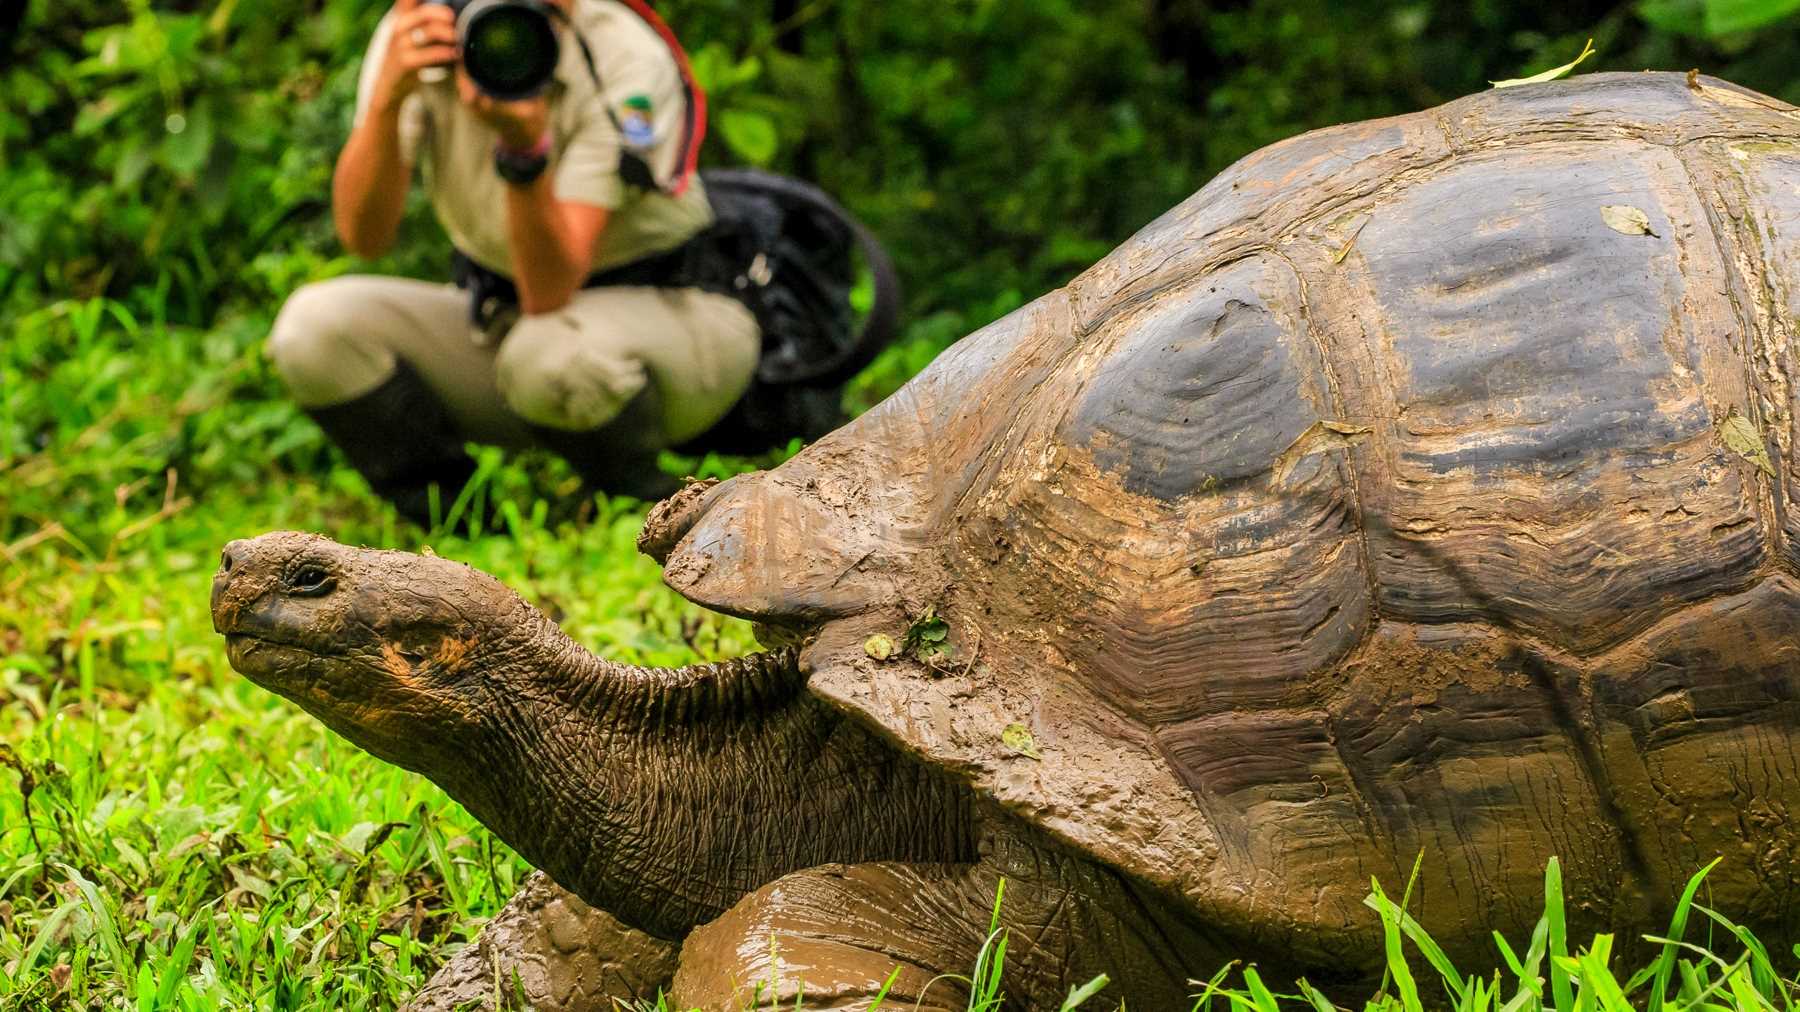
4. Galápagos: Anticipate Behavior
Photographs that feature multiple animals interacting in unique settings are almost always compelling.
You can increase your chances of capturing such images by learning a few facts in advance about the animals in the destinations where you’ll be traveling and their behavior. Better yet, connect with our Naturalists when you’re in the field. They have a wealth of knowledge about different species and you will be amazed how an experienced keen observer can anticipate how wild animals behave.
Have you ever seen a bird sitting on top of a pelican’s head? With all my experience in the Galàpagos, I would not have expected it to take me a number of years to finally get this shot.
In just a few places in the islands, noddy terns gather in areas where pelicans are actively plunge diving for fish. As the pelican bobs back to the surface, the terns swoop in hoping to score a fish escaping from the pelican’s beak. The terns land on top of the pelican’s head waiting for an easy meal.
A tern sitting on top of a pelican’s head is a fun, almost comical image. Maybe on previous trips I wasn’t patient enough, or the behavior didn’t take place. But once I was keyed in, it seemed to happen over and over, increasing my chance of nailing the shot.
5. Costa Rica: Get the Shot with Burst Mode
It’s a common misconception that professional photographers nail every shot they take. If anything, we shoot more than necessary since we are so paranoid about missing the shot.
Blasting away on burst mode when the action is happening doesn’t mean you’re a bad photographer. Missing the shot is disappointing. And what photographer hasn’t missed a shot?
Photographing flying birds is hard for photographers, even skilled professionals. The stakes are raised in the dark tropical rainforests of Costa Rica.
The ideal situation for success with flying birds, or any fast-moving animals, is when behavior is repeated in a predictable pattern. As I mentioned earlier, look to our Naturalists to guide you in the right direction. If you have an idea where the birds will land; for example, a nesting tree, lock focus on the tree or branch and wait for the action to happen.
One of the true highlights in the wilds of Costa Rica is the endangered scarlet macaw which flashes red and yellow against the green vegetation. We were thrilled to encounter a pair making repetitive courtship flights to and from their nesting tree.
Pre-focusing on the tree at a fast shutter speed and taking multiple images with burst mode increased our chances of getting “the shot.” After sorting through a few hundred photos, I chose this one where the love birds appear to be kissing with wings out. While using burst mode does create more work when editing your images down, it is completely worth it when you find that winning shot.
6. Arctic Svalbard: Add Light to Light
Observing and photographing a polar bear in the wild is near the top of the bucket list for most travelers. As a photographer, it is a riveting moment that you must be ready for in advance, as the white world of the far north presents a unique photographic challenge.
Cameras tend to underexpose scenes dominated by ice and snow, resulting in dark images with gray snow. It sounds counterintuitive, but to compensate for white or bright scenes, you must fool the camera to purposely overexpose the image. Many cameras with Automatic or Program settings have a Snowman mode that will do this automatically.
However, when shooting in non-automatic modes, adjusting exposure is accomplished using the Exposure Value (EV) dial or button (+/- ). Adjusting to the plus (+) side will brighten the image. Adjustments are measured in stops. Depending on the scene, adjusting the compensation between 1 and 2 stops will yield the desired results.
If a bear is sighted in the distance there’s usually time to get ready before it comes in range. As the bear approaches, be sure to shoot some test shots and adjust exposure as necessary. You can remember which way to adjust with the saying “add light to light,” adjusting exposure on the plus (+) side to fool your camera to keep the whites, white.
For more expert advice from Ralph Lee Hopkins, read 10 Tips for Expedition Photography.


